How-To-Sheets
Connecting to our VPN
Everyone at our company uses a VPN (Virtual Private Network) to securely connect to our internal network when working remotely. Below are the steps to connect to our VPN.
You should not have to do any special configuration with the connection that you are using, just follow the steps below.
-
Install the VPN Client
If you haven’t already, get IT department to install the VPN client software for you. - Open the VPN Client
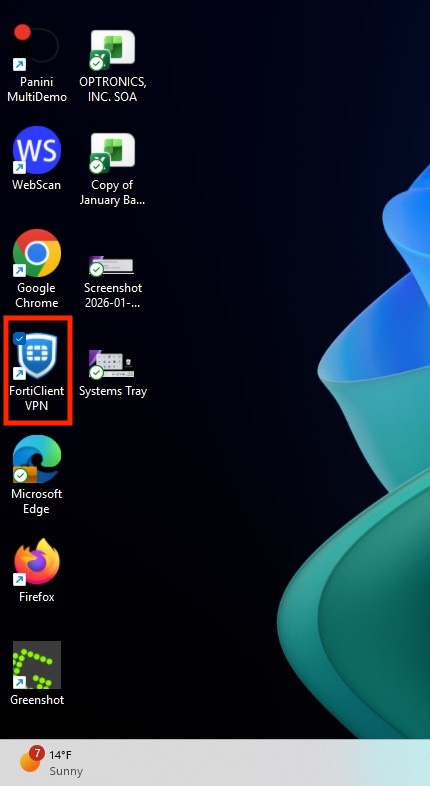
Launch the VPN client application on your computer. There are 3 common ways to do this:- Double-click the VPN client icon on your desktop.
- Click on the Start menu (Windows) and search for the VPN client application.
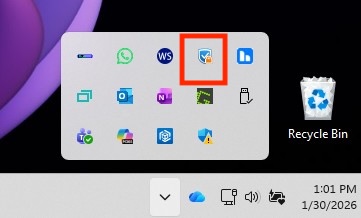
- Or in the system tray (bottom-right corner of your screen), find the VPN client icon and double-click it.

- Double-click the VPN client icon on your desktop.
-
Enter Your Credentials
In the VPN client window, enter your username and password provided by the IT department. (Sames as your PC login credentials)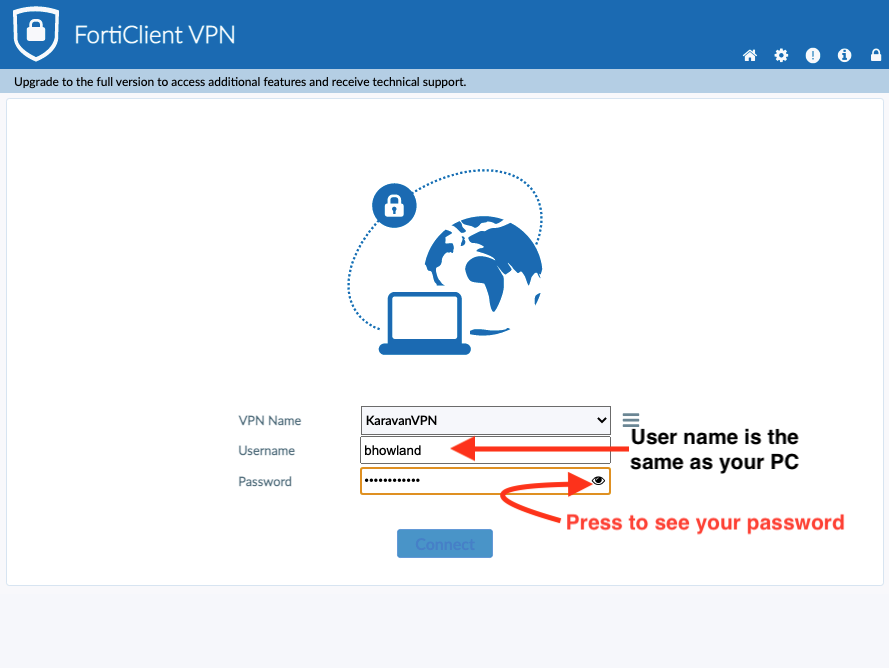
-
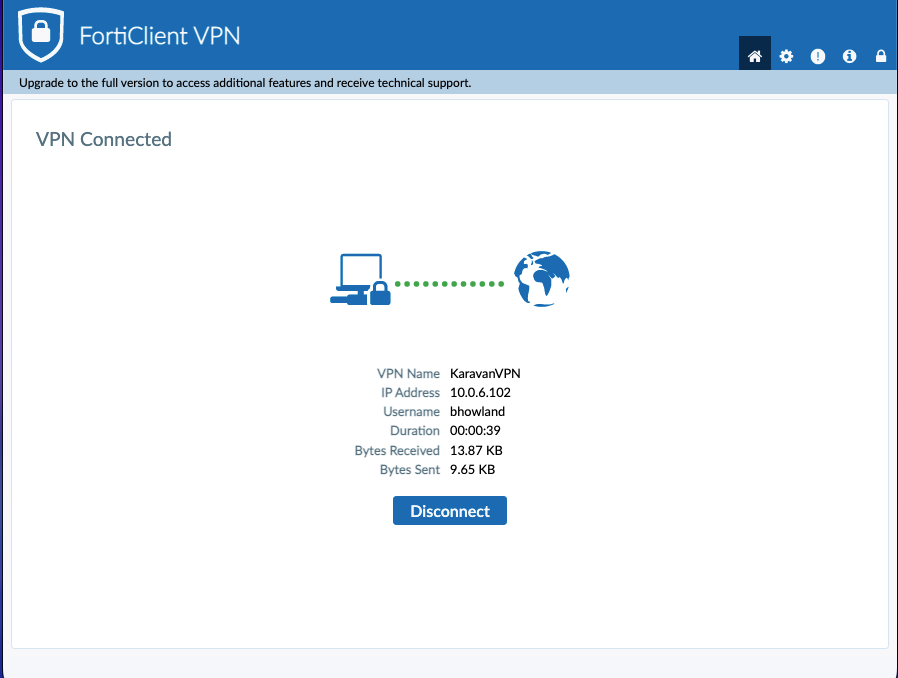
Connected to the VPN Once connected, you should see a confirmation message or icon indicating that you are connected to the VPN.

- Known Issues
- If the VPN client fails to connect, double-check your username and password for accuracy.
- If while connecting to the VPN you get a message about a certificate error, click “Continue” or “Accept” to proceed.
- If while connecting to the VPN it reaches 40% and then stops, try moving the VPN client window to the side to see if there is a prompt behind it asking for additional information.
- If you encounter any issues connecting to the VPN, please contact the IT department for assistance.
- Make sure your internet connection is stable before attempting to connect to the VPN.
- If you forget your VPN credentials, reach out to the IT department to reset them.
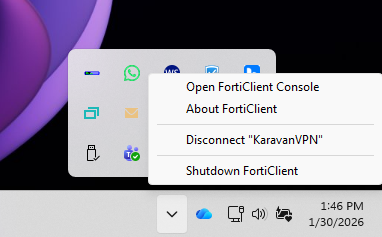
- Disconnecting from the VPN
When you are done working remotely, remember to disconnect from the VPN to ensure security.- Open the VPN client application.
- Click on the “Disconnect” button.